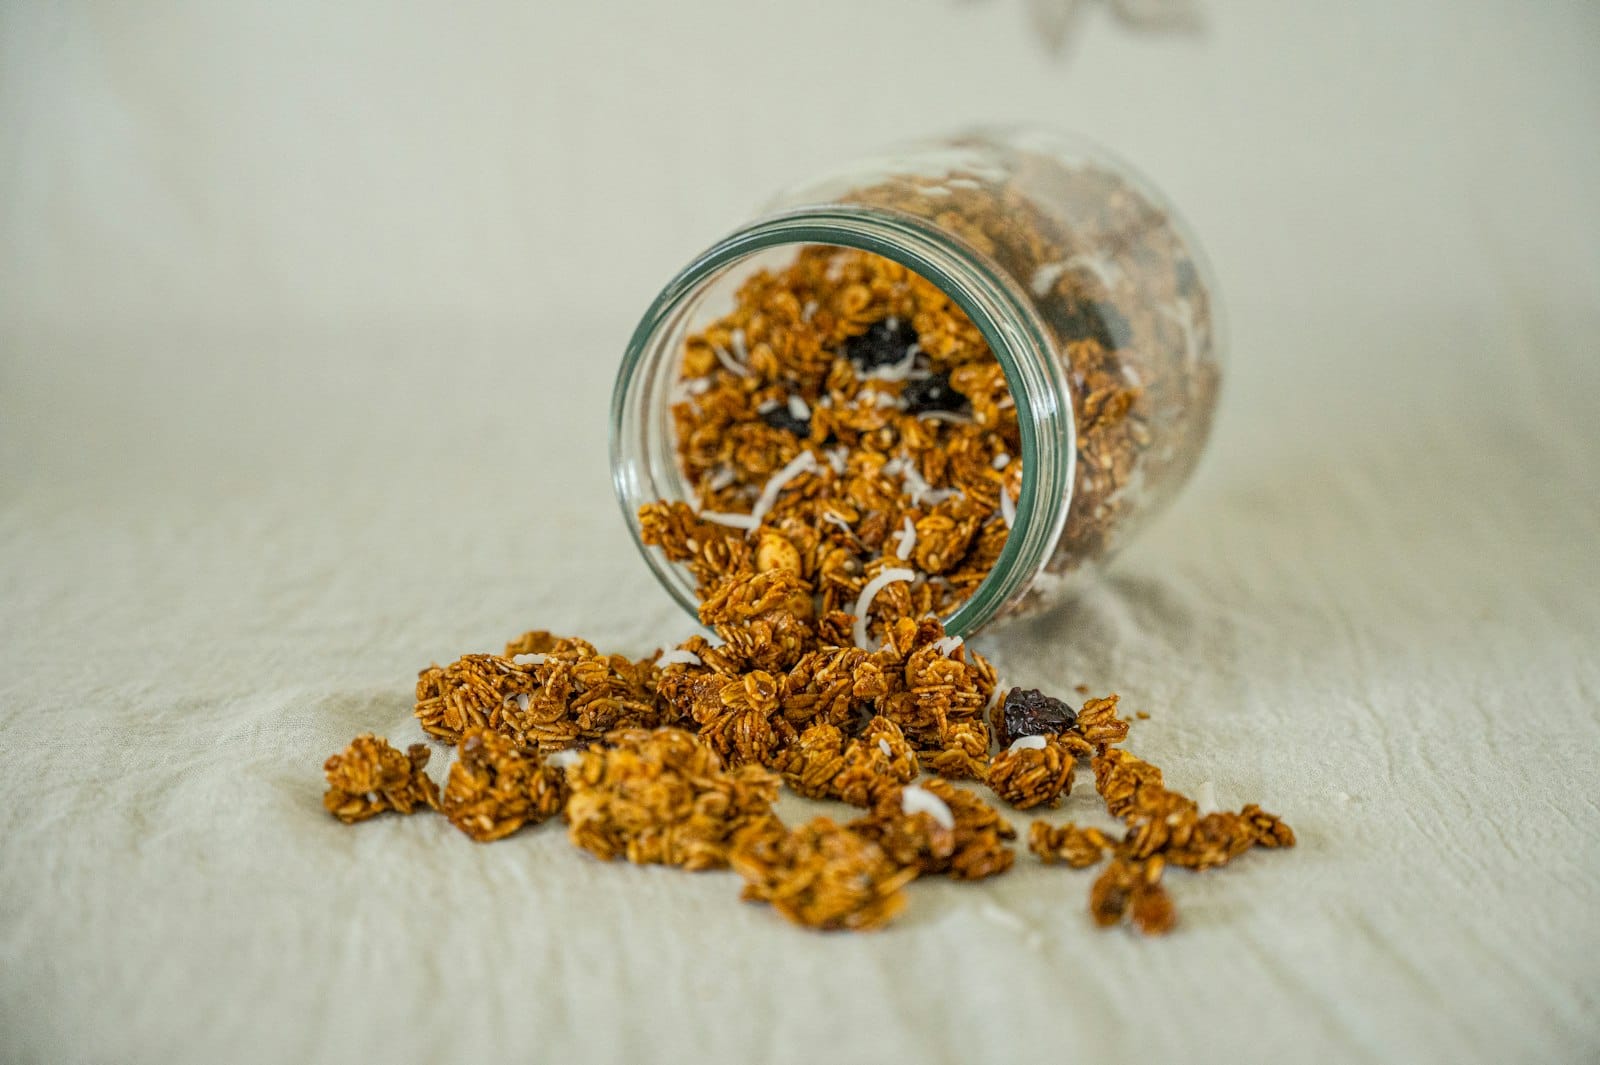
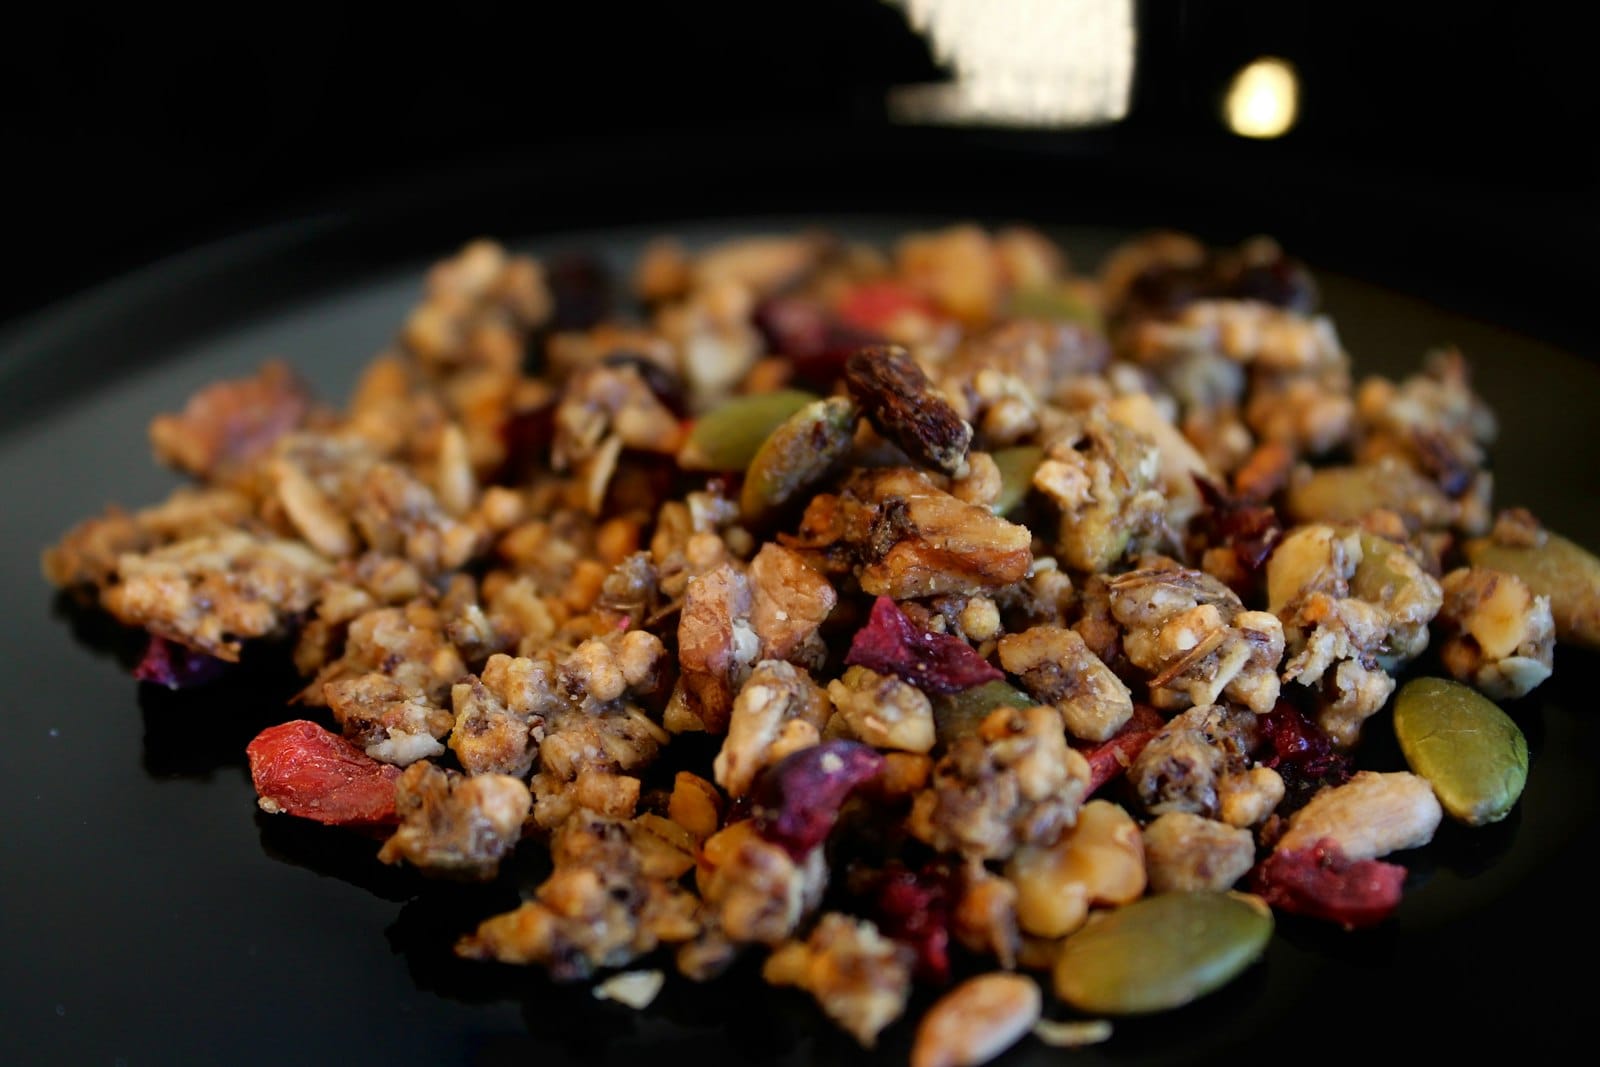
There is nothing quite like a jar of homemade granola on the shelf. The kitchen smells incredible while it bakes, the clusters are golden and crunchy, and you know exactly what went into it.
Best of all, it is genuinely easy — one bowl, one tray, and about half an hour. This simple plant-based granola recipe is naturally sweetened, endlessly adaptable, and far better than most shop-bought versions.
Make a batch once and you may never buy granola again.
Why make your own granola?
Shop-bought granola can be surprisingly high in added sugar and oil, and often costs a premium for the privilege. Making your own puts you firmly in control.
You choose the sweetness, the oil, and every nut and seed that goes in — and you skip the preservatives entirely. It is cheaper, fresher and infinitely customisable to your taste. Oats, the base of any good granola, are also a brilliant wholegrain; Healthline rounds up the benefits of oats if you are curious.
Ingredients
This recipe makes a big jar of granola with pantry staples you likely already have.
- 3 cups rolled oats (the crunchy base)
- 1 cup mixed nuts, roughly chopped (almonds, walnuts, pecans)
- ½ cup mixed seeds (pumpkin, sunflower, chia)
- ⅓ cup maple syrup (or agave)
- ⅓ cup coconut oil, melted (or another mild oil)
- 1 teaspoon vanilla and a pinch of salt
- 1 teaspoon cinnamon (optional, but lovely)
- ½ cup dried fruit, added after baking (optional)
Step-by-step method
The method could not be simpler — the only trick is in how you handle the tray.
- Preheat your oven to 160°C and line a large baking tray with paper.
- Mix the dry ingredients: combine the oats, nuts, seeds, salt and cinnamon in a big bowl.
- Add the wet: pour over the maple syrup, melted oil and vanilla, and stir until everything is evenly coated.
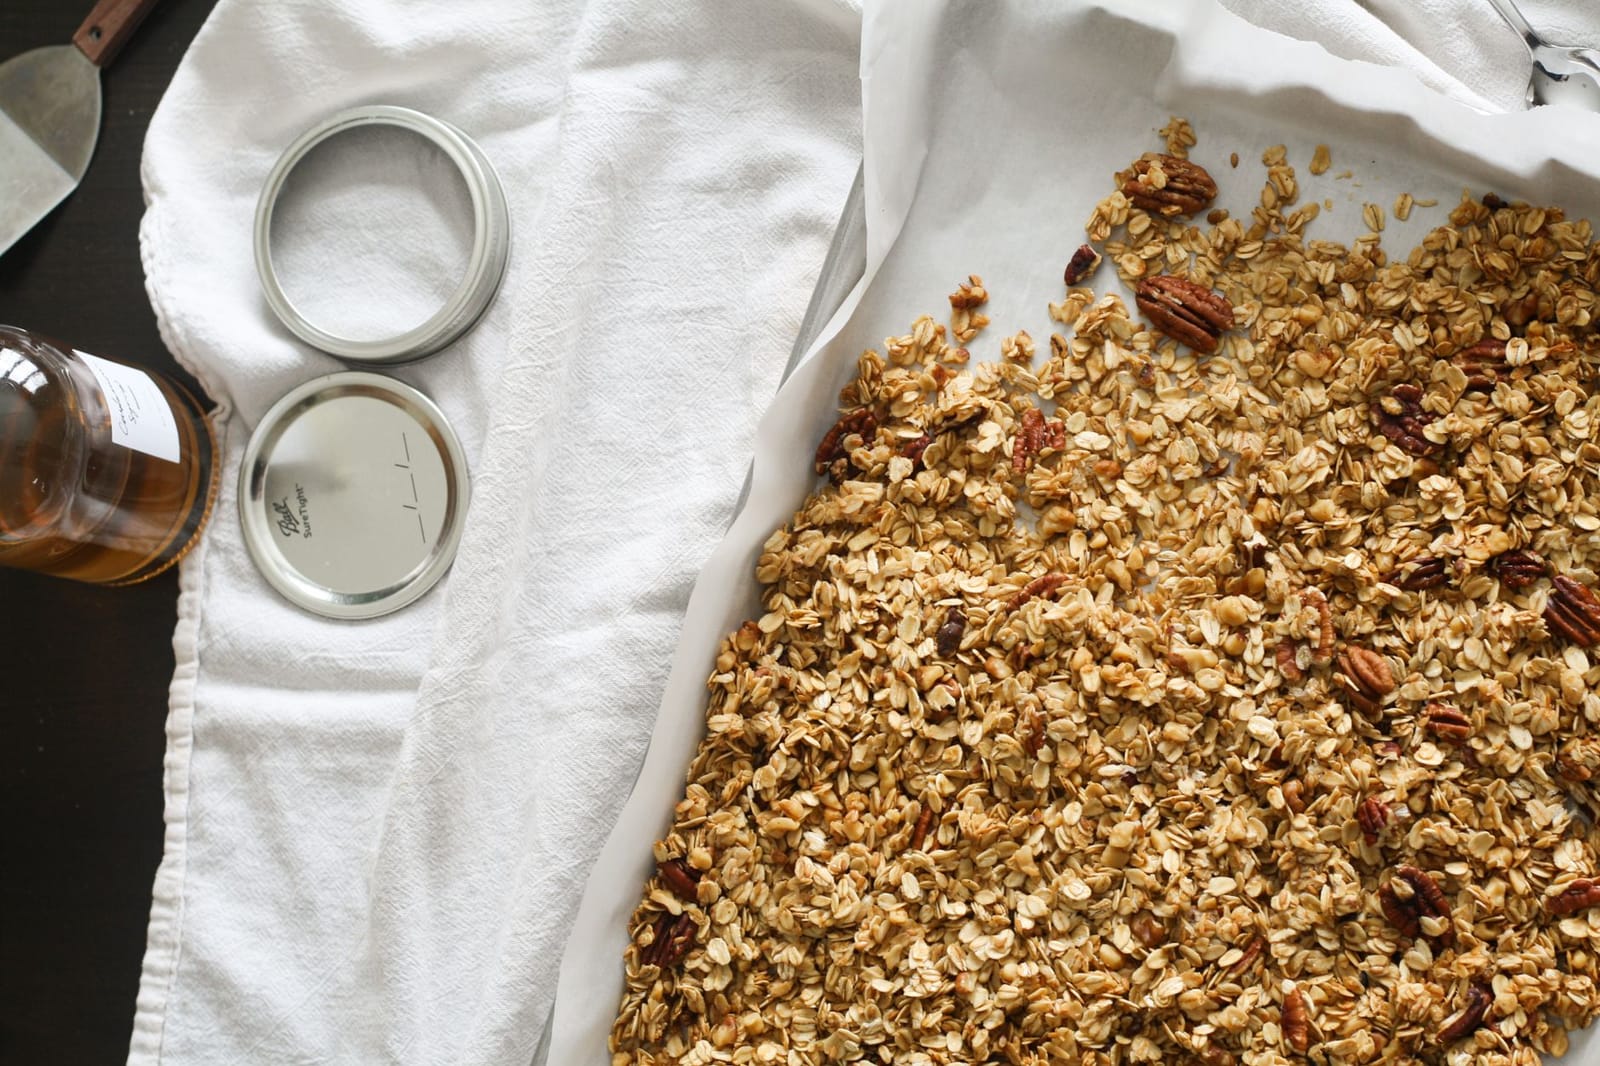
- Press onto the tray: spread the mixture out and press it down firmly — this is how you get clusters.
- Bake for 20–25 minutes, turning the tray once, until golden. Stir as little as possible.
- Cool completely before breaking into clusters and stirring through any dried fruit.
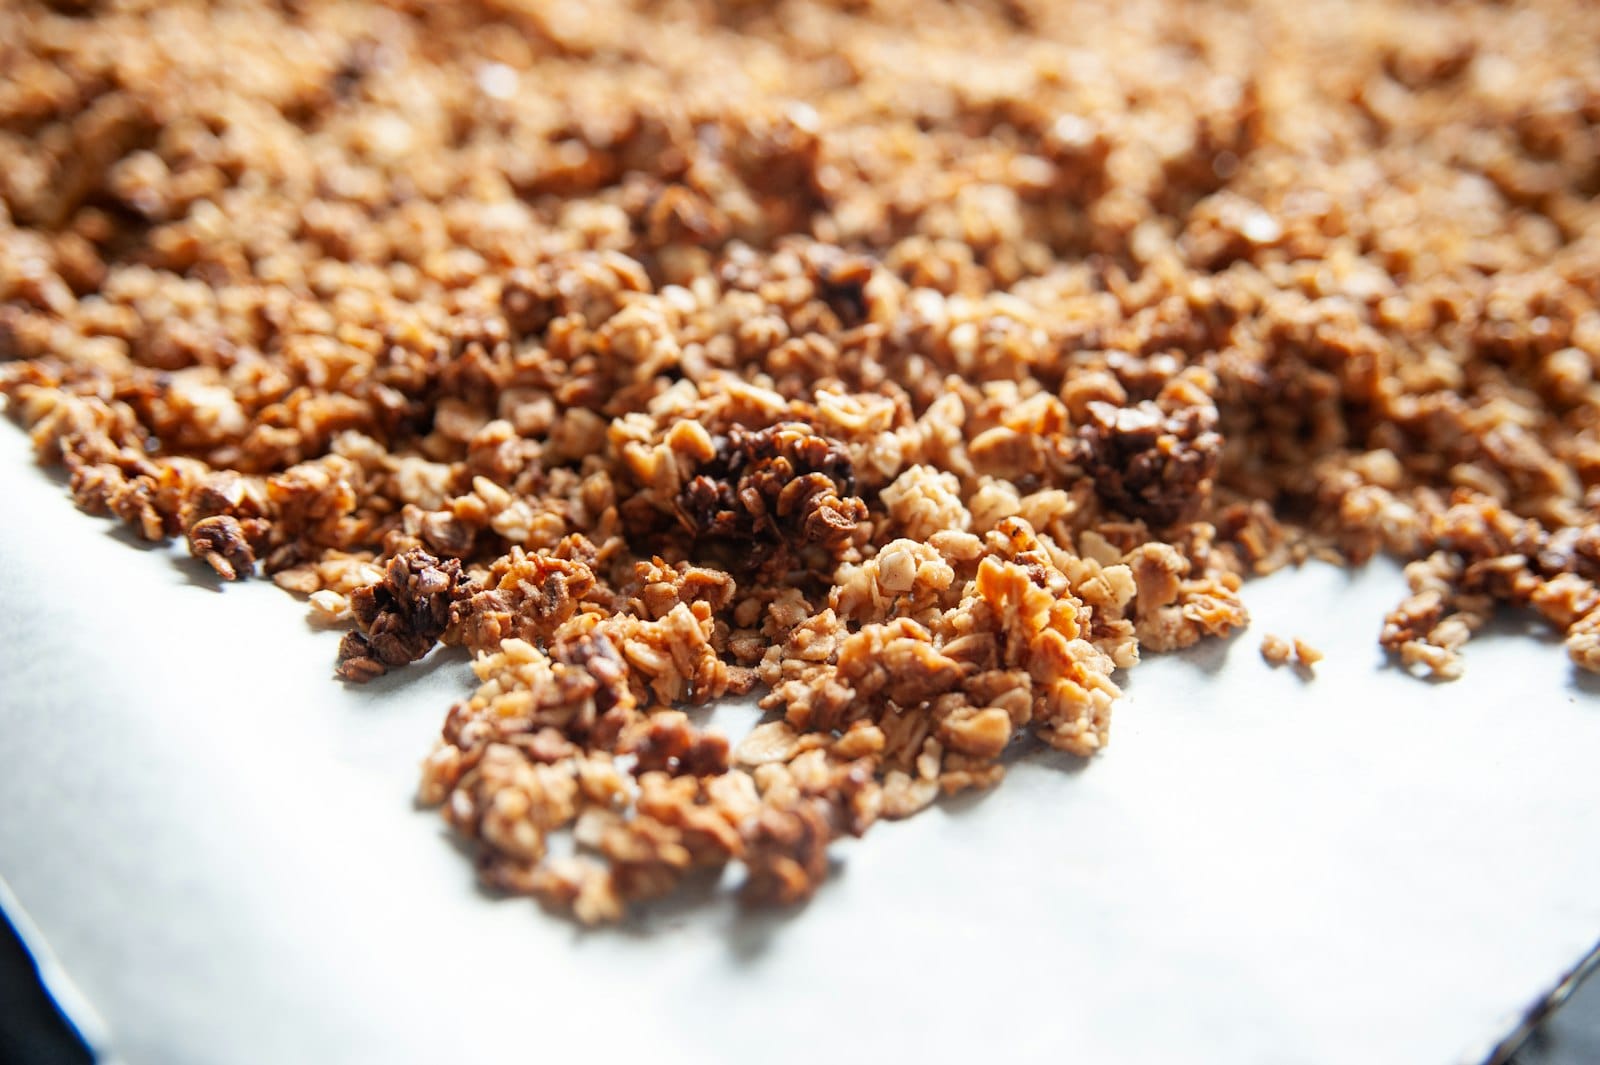
The secret to big, crunchy clusters
Everyone loves those satisfying granola clusters, and getting them is easier than you think — it just takes a little restraint.
The two golden rules are: press the mixture down firmly before baking, and resist the urge to stir it constantly. The more you disturb it, the more it breaks apart. Most importantly, let the granola cool completely on the tray before you touch it — the clusters set hard as they cool. Break it up too early and you will end up with loose crumbs instead of clusters.
Make it your own
Once you have the basic ratio, this recipe is a playground. Treat the oats, syrup and oil as your constant, then swap everything else to taste.
Go tropical with coconut flakes, macadamias and dried mango; make it chocolatey with cacao nibs stirred in after baking; or keep it simple and nutty. A little cardamom or ginger adds a warm, fragrant twist. Whatever you choose, the method stays exactly the same.
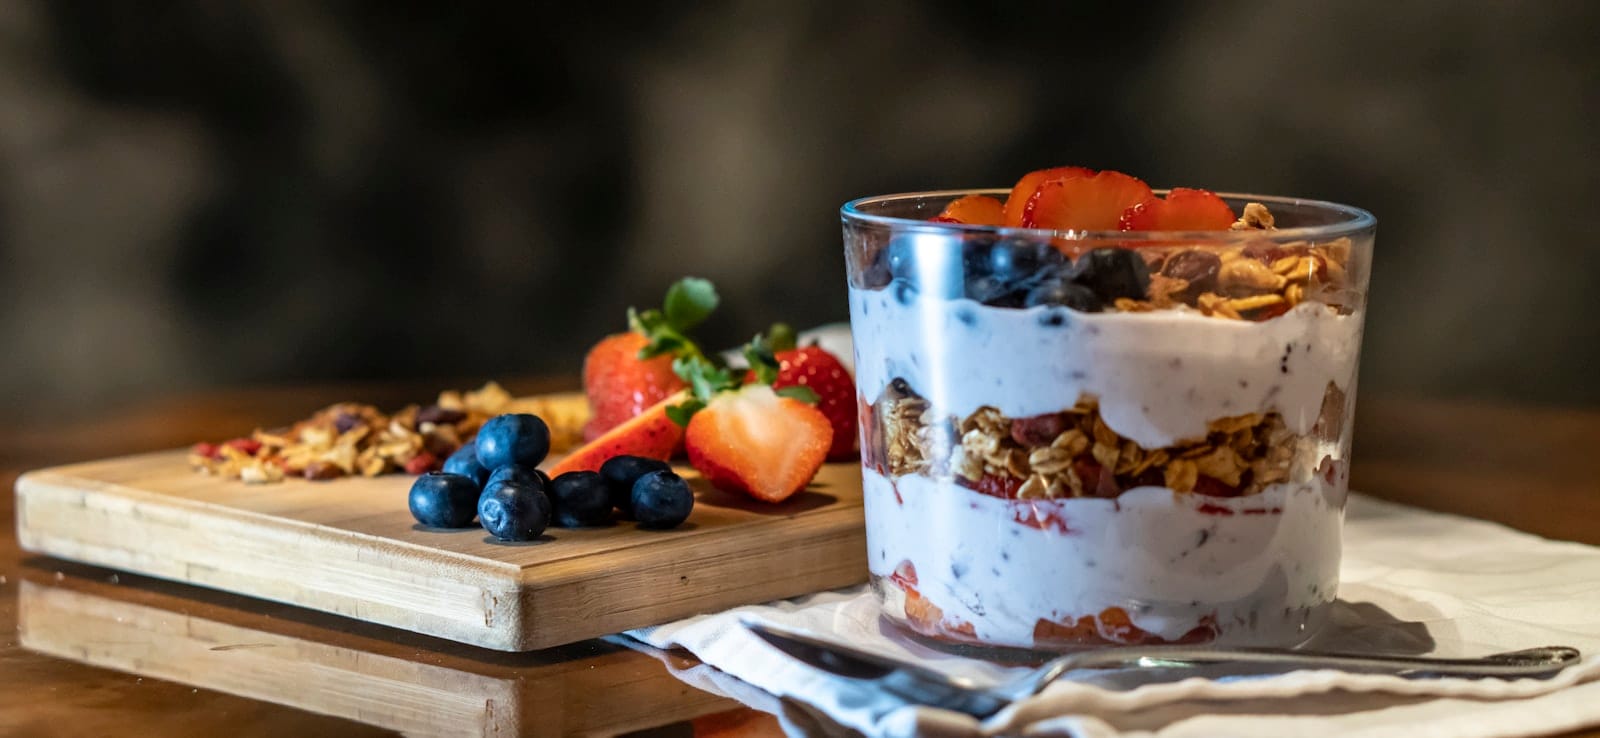
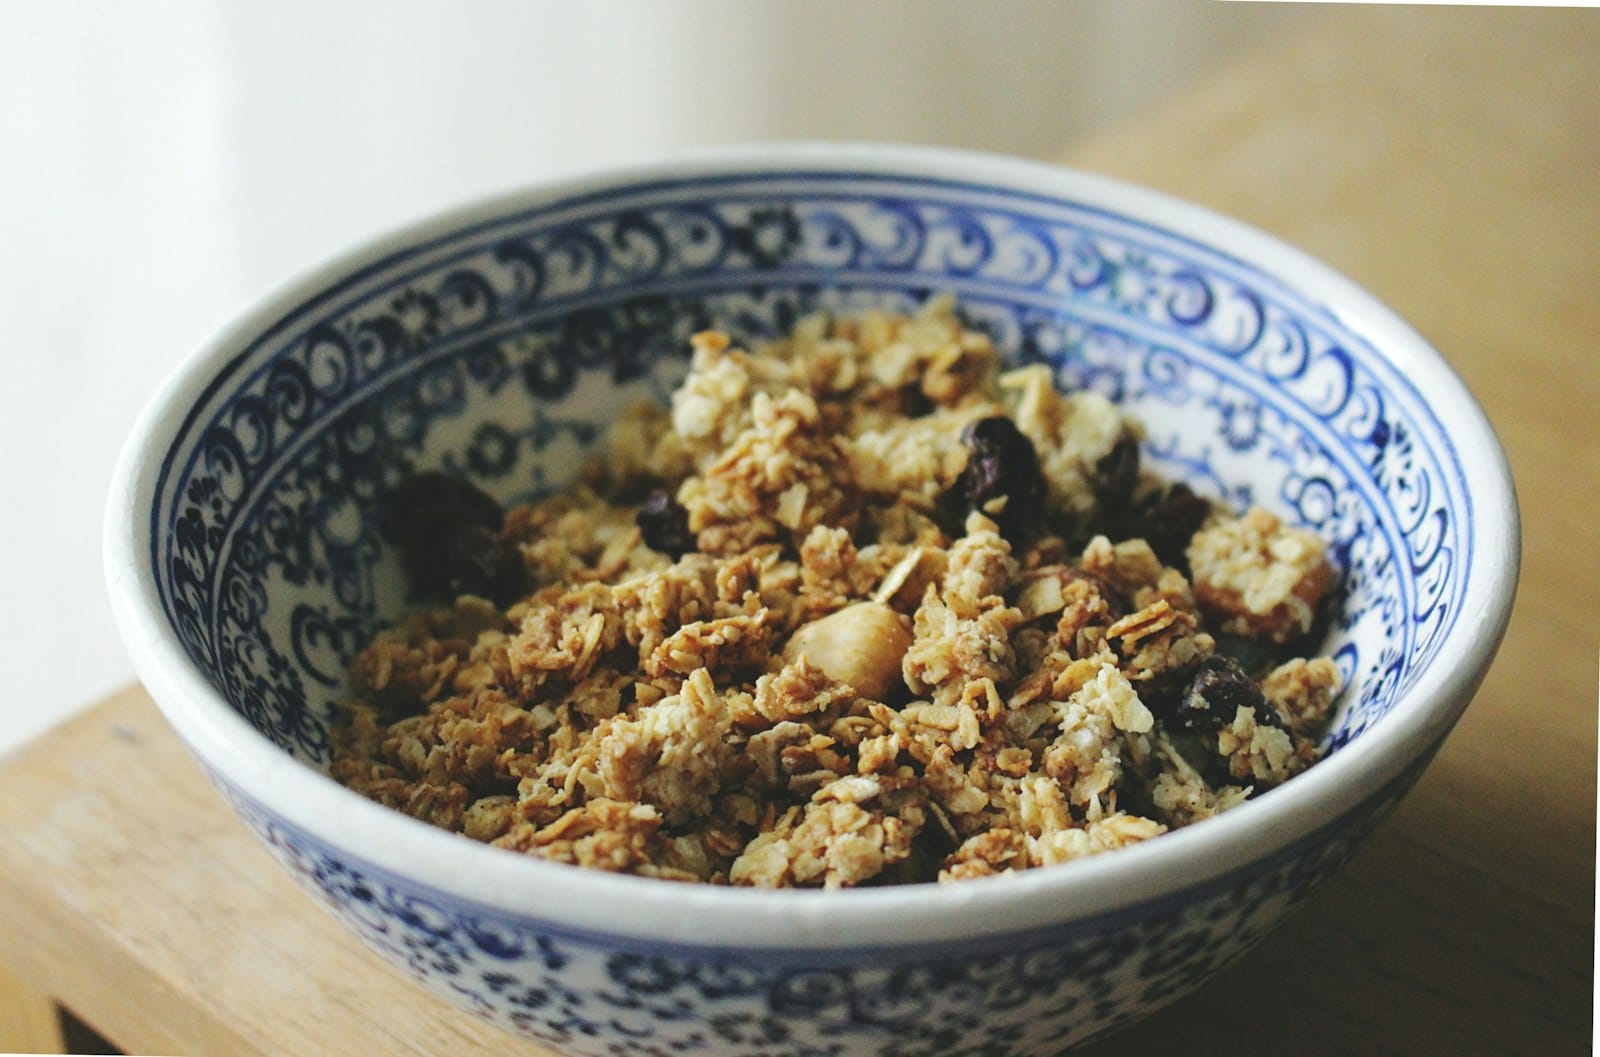
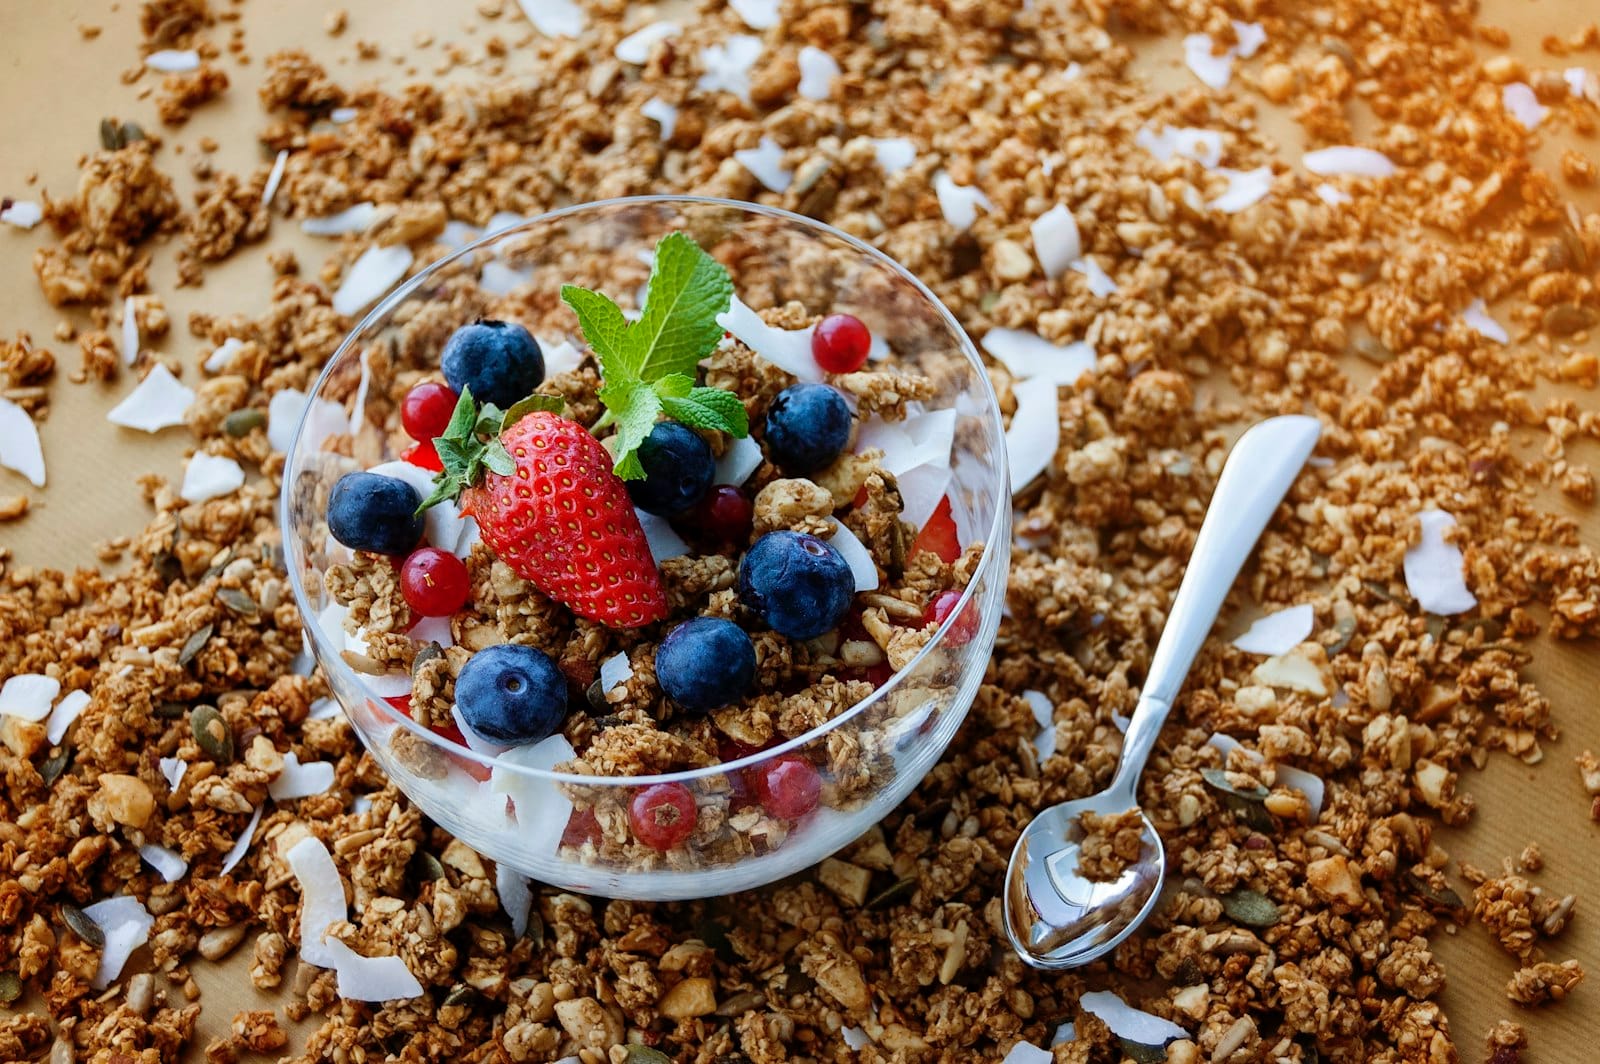
How to enjoy your granola
A good granola is wonderfully versatile. Sprinkle it over coconut yoghurt with fresh berries, pour on plant milk for a classic bowl, or scatter it across a smoothie or açaí bowl for extra crunch.
It also makes a lovely gift — spooned into a jar with a ribbon, homemade granola is always a welcome present. Store yours in an airtight container and it will stay crisp for weeks, though in most households it disappears long before that.
For a wholesome snack on the go, keep a small handful in a container in your bag — it beats a shop-bought muesli bar and costs a fraction of the price. Granola really is one of those small kitchen wins that pays you back every single morning.
Troubleshooting your granola
Granola is forgiving, but if your first batch is not quite right, the fix is usually simple.
If it turns out soft rather than crunchy, it most likely needed a few more minutes in the oven, or was broken up before it cooled — remember, it crisps as it cools, not while it is warm. If the edges catch and burn, your oven may run hot; drop the temperature slightly and turn the tray halfway through baking.
Not clustering? Press the mixture down more firmly before baking and stir it less. And if it tastes a little flat, a bigger pinch of salt or a touch more vanilla and cinnamon lifts everything. Granola rewards small adjustments, so treat your first batch as a guide and tweak from there — you will have it perfect in no time.
Prefer yours made for you?
Baking granola at home is a joy, but on the days you would rather be served, come and see us. At The Cardamom Pod in Southport, house-made granola features across our breakfast bowls and açaí creations.
It is a delicious benchmark for your own batch. Browse our full plant-based menu, or book a table at The Brickworks in Southport.
Frequently asked questions
How do you make granola clustery and crunchy?
Press the mixture firmly onto the tray, do not stir it too often while baking, and let it cool completely before breaking it up. The clusters set as the granola cools, so patience is the real secret.
Is homemade granola healthier than shop-bought?
It usually is, because you control the ingredients. Homemade granola lets you cut back on added sugar and oil, choose wholesome nuts and seeds, and skip preservatives, all while tasting far fresher.
How long does homemade granola last?
Stored in an airtight container at room temperature, homemade granola keeps well for two to three weeks. You can also freeze it for a few months, making it easy to keep a batch on hand.
What can I use instead of oil in granola?
You can reduce or replace the oil with a little extra maple syrup, mashed banana or apple sauce, though a small amount of oil does help with crispness and clustering. Coconut oil is a popular plant-based choice.
Is granola vegan?
It can be, but not always — some brands use honey. This recipe is fully plant-based, sweetened with maple syrup, so it is suitable for vegans. Always check labels on shop-bought versions.
Keep exploring
For more, read our guides to how to make the perfect açaí bowl, easy vegan breakfast ideas, and vegan kitchen staples.
Leave a Reply